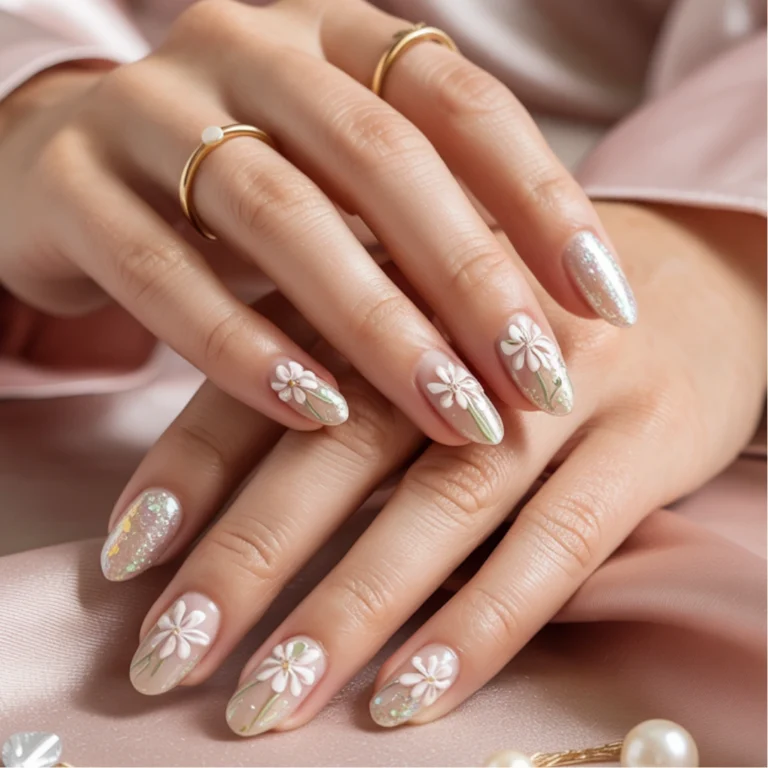
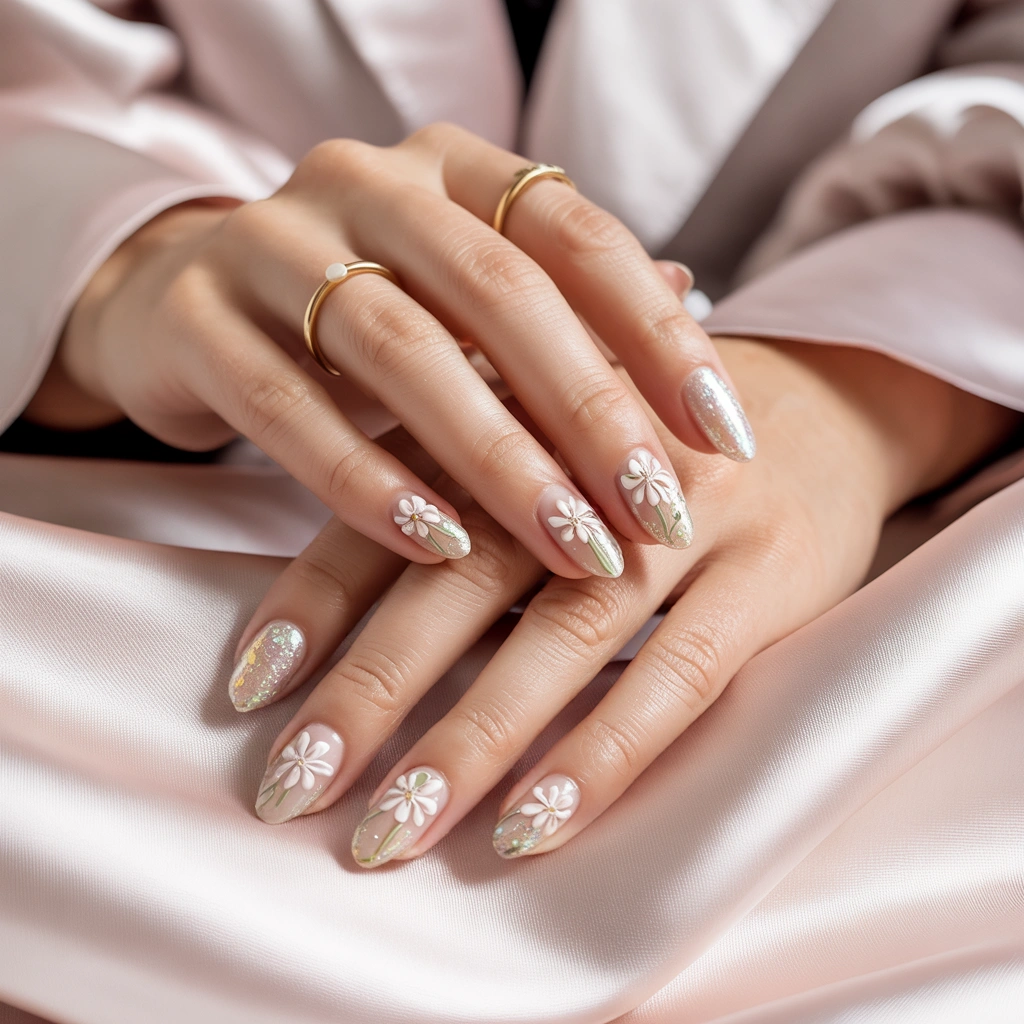
Hey nail besties! ✨ So last week, something totally adorable happened at my salon. This regular client of mine, Sophia, walks in with this Pinterest board full of soft, ethereal nail designs and says, “Jessie, I need something that feels like spring but works for my corporate job too.” That’s when I showed her the Petal Glow design – and oh my gosh, she was OBSESSED!
Unlock the secret to petal glow nails! Discover easy steps to nail this elegant design. Effortless beauty at your fingertips. Get inspired now! It’s seriously the perfect balance between delicate femininity and professional polish (pun totally intended 😉).
Ever wondered how to create a nail look that’s both subtle enough for everyday wear but special enough to make people ask, “Where did you get your nails done?” Petal Glow is your answer, and I’m spilling all the tea on how to DIY this dreamy design right at home!
What You’ll Need
Before we dive in, let’s gather our supplies! This is what makes Petal Glow magic happen:
- Light pink or nude base polish (I’m loving OPI’s “Bubble Bath” or Essie’s “Ballet Slippers” for this!)
- Soft green or metallic polish for those abstract tips (think sage green or a subtle champagne)
- Fine silver glitter polish or topcoat (the finer the glitter, the more elegant it looks!)
- White or pink 3D flower stickers or nail decals (tiny ones work best!)
- Clear top coat (a good one is worth investing in, trust me!)
- Small nail art brush or a bobby pin (those bobby pins are nail art SECRET WEAPONS)
- Nail file & buffer
- Cuticle oil (optional, but your nails will thank you!)
Pro tip: Not sure about flower stickers? Check craft stores – they often have better selections than beauty stores at lower prices! 💸
Time Needed
For my beginners out there: Set aside about 45-60 minutes from start to finish. Don’t rush it, girl! Good things take time.
For my nail pros: You can knock this out in 30 minutes or less once you’ve got the technique down!
Remember to factor in dry time between steps – scrolling TikTok between coats is basically part of the process, right? 😂
Let’s Do It!
Step 1: Shape & Prep Those Beautiful Nails
File your nails into a soft almond shape – this shape really complements the floral vibe we’re going for! Then lightly buff the surface (don’t go too hard!) and gently push back those cuticles. Finish by cleaning your nails with a little alcohol or polish remover to ensure your polish sticks properly.
You’re building a house here, and this is your foundation! A little extra time on prep means your Petal Glow design will look salon-quality and last so much longer. You’ve got this!
Step 2: Lay Down That Perfect Base
Apply 1-2 coats of your light pink or nude polish. Thin coats are key here, bestie! Let each coat dry completely before adding the next. This soft backdrop is what makes the Petal Glow design look so effortlessly chic.
While you wait for it to dry, maybe pick out your outfit for tomorrow? Just a thought! 🌸
Step 3: Create Those Dreamy Abstract Tips
Here’s where the magic happens! Using your small brush (or the edge of a bobby pin if you’re MacGyver-ing this), swipe soft green polish diagonally or in abstract curved shapes near the tip. Think of it like painting gentle leaves or a hint of green under where your flowers will go.
Don’t stress about perfection – the beauty of abstract is that it’s supposed to look artistic and unique to you!
Step 4: Add That Touch of Sparkle ✨
Apply your glitter polish over 1 or 2 accent nails (the ring finger is always a good choice) or just add a tiny bit near the cuticle or tip for a pop of shine. This dimension is what takes Petal Glow from pretty to absolutely stunning!
Remember: a little glitter goes a long way (in nails and in life!).
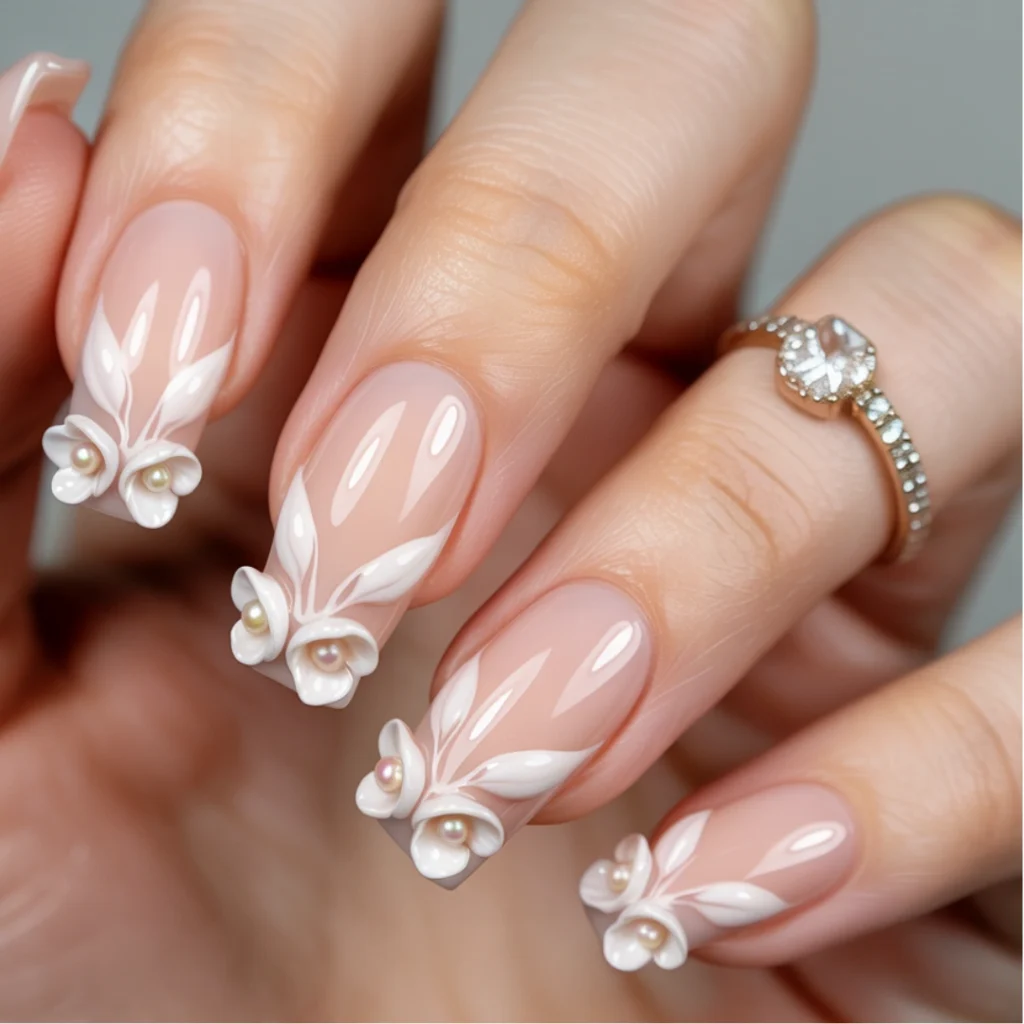
Step 5: Apply Those Adorable Flower Stickers 🌸
Place one 3D flower sticker near the center or edge of each nail. I like to vary the placement for a more natural look – nature isn’t perfectly symmetrical, after all! Press down firmly so they stick well.
Tweezers can be super helpful here if your fingers are being clumsy (we’ve all been there!).
Step 6: Seal That Beautiful Design
Add a generous layer of top coat to lock everything in and give that glossy finish we all dream about. This step is non-negotiable, ladies! It’s what transforms your design from “I did this at home” to “Is that a gel manicure?!”
Let dry completely – this is your patience test!
Step 7: Show Your Cuticles Some Love (Optional)
Massage in a little cuticle oil to make your hands look even more polished and hydrated. Nothing ruins a gorgeous manicure like dry cuticles, am I right?
Style It Your Way
These Petal Glow nails are absolutely perfect for:
- Spring garden parties (obvious match!)
- Office environments where you want to express yourself subtly
- Date nights when you want to look put-together but not trying too hard
- Brunch with the girls when you need to flex your nail game
They pair beautifully with:
- Flowy sundresses and soft pastels
- Crisp white button-downs for that perfect feminine/professional balance
- Minimalist gold jewelry that won’t compete with your nail art
Want to Switch It Up?
- Try a lavender base instead of pink for a more unique take
- Swap green for a soft blue to create more of an aquatic feel
- Use dried real flower pieces instead of stickers for an advanced version
- Try it on nail ideas like square or coffin shapes for a modern twist
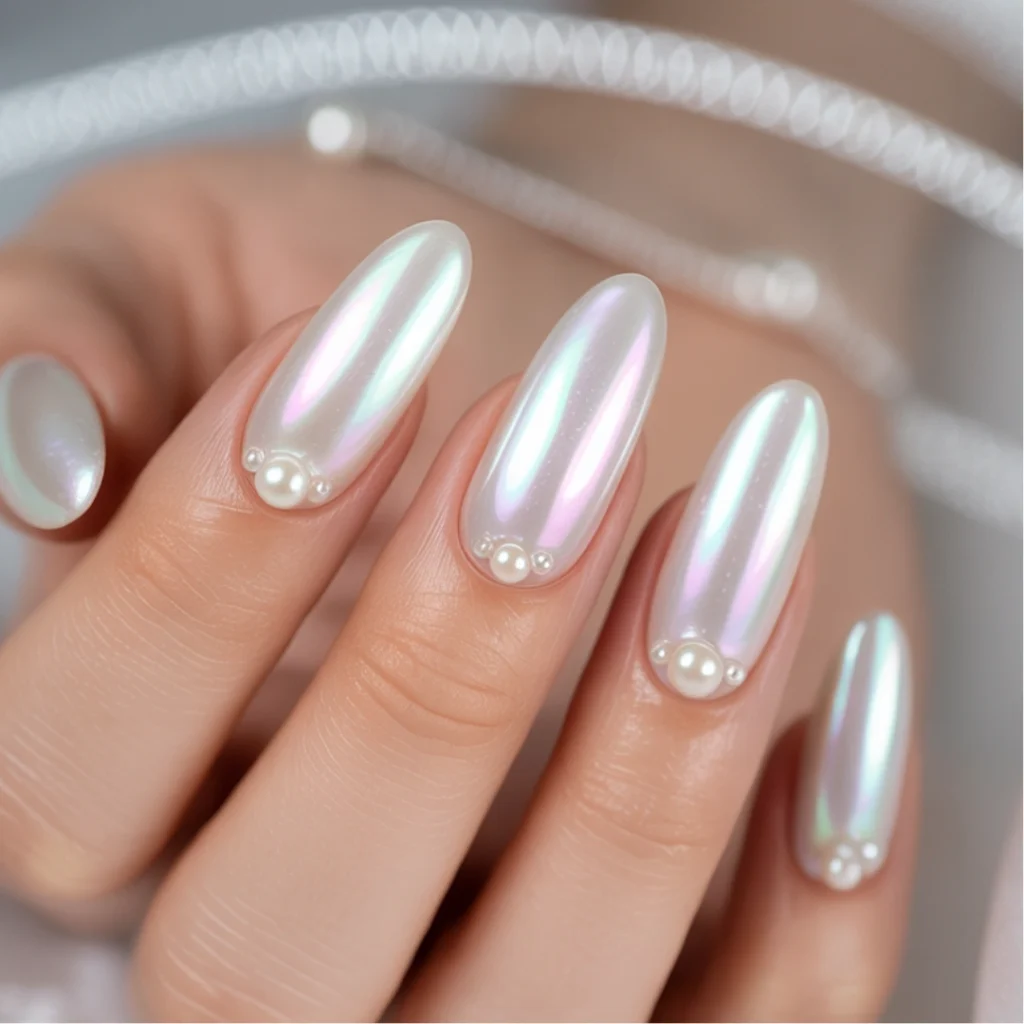
- Incorporate tiny pearls instead of glitter for wedding-worthy nails
Help It Last Longer
- Apply your topcoat again 2-3 days after your initial manicure
- Wear gloves while doing dishes or cleaning (your manicure’s worst enemies!)
- Keep a mini bottle of top coat in your purse for quick touch-ups on the go
- Be careful with hand sanitizer – it can dull the shine of your topcoat
- If a flower sticker starts lifting, add a tiny dot of clear polish underneath to re-adhere
Before You Go
Remember, nail art is an expression of YOU! Don’t worry if your first attempt isn’t perfect – mine sure wasn’t! What matters is having fun with it and creating something that makes you smile when you glance down at your hands.
I’d absolutely LOVE to see your Petal Glow creations! Tag me in your nail pics or drop a comment below with how yours turned out. And if you run into any snags, your nail bestie (that’s me!) is here to help troubleshoot! 💕
FAQs
How long will Petal Glow nails last?
With proper application and care, your Petal Glow design can last 7-10 days. The 3D elements might start to lift sooner, so having a little clear polish on hand for touch-ups is a good idea!
Can I do Petal Glow nails with gel polish instead?
Absolutely! Follow the same steps but cure each layer with your LED lamp. The benefit? Your design will last even longer – up to 3 weeks if done properly!
Will these work for short nails like french tip nail designs?
Yes! Petal Glow actually looks super cute on shorter nails. Just scale down the size of your flower stickers and focus the abstract design on just the very tips.
Is this design appropriate for a job interview?
Totally! That’s what makes Petal Glow so versatile. It’s subtle and elegant enough for professional settings while still showing your attention to detail and creativity.
What’s trending for summer nails 2025?
While Petal Glow is timeless, pair it with the trending “diamond dust” effect (super fine holographic powder) over your glitter sections to make it 2025-ready! The forecasts show botanical elements staying strong but with more dimensional elements.