Introduction: Pearl Perfection at Your Fingertips
Hey there, nail besties! 💅 Jessica here from Polished to Perfection! So last week, the sweetest client walked into my salon asking for “nails that look like they were dipped in moonlight.” I knew exactly what she meant – those gorgeous, ethereal pearl nails that have been flooding our Instagram feeds lately!
After her appointment, she asked if I could share how to achieve elegant pearl white nail designs at home. Our DIY guide shows you how to create pro-level pearl nails with easy steps, and I’m so excited to spill all the tea today! Who says you need a salon visit for designer-worthy nails? Not me, girl!
Have you ever wondered how to get that perfect pearlescent glow that looks expensive but doesn’t break the bank? That magical finish that catches the light just right and makes everyone ask where you got your nails done? Keep reading because I’m about to change your nail game forever! ✨
What You’ll Need
Before diving in, let’s gather everything you’ll need to create these dreamy white nail designs with a pearl finish:
- Milky white or soft pink nail polish (for that dreamy base)
- Iridescent pearl powder or chrome powder
- Clear builder gel or thick clear top coat
- Small flat brush or sponge eyeshadow applicator
- Tiny flat-back pearls (easily found online or in craft stores)
- Clear nail glue or builder gel (for securing those pearls)
- UV/LED lamp
- Nail file and buffer
- Nail cleanser/dehydrator
Pro tip: Can’t find pearl powder? Some highlighters can work in a pinch! Just make sure it’s finely milled for that smooth application we’re after! And if you’re going for a full luxury nail spa experience at home, light a candle and put on your favorite playlist. Ambiance matters! 🎵
Time Needed
For all my busy girls wondering if this fits into your schedule:
Beginners: Set aside about 60-90 minutes for your first attempt. Taking your time helps avoid frustration and gives you space to perfect each step!
Experienced DIYers: Once you’ve mastered these elegant simple rhinestone nail designs with pearls, you can finish the whole set in 30-45 minutes.
Remember, rushing through glossy nails never ends well! Quality takes time, but I promise the compliments will be worth it! 💖
Let’s Do It
Step 1: Shape Your Nails Like a Queen 👑
Start by filing your nails into a long almond or ballerina (coffin) shape. This silhouette elevates your pearl accents and gives the most elegant, soft-glam look.
Gently buff the surface to create a slightly textured base for your polish to grip onto. Then wipe away any dust with a nail cleanser. This prep is crucial for making your trendy nails last, bestie!
Step 2: Apply Your Dreamy Base 💅🏼
We’re going for nude nail designs with a twist here! Apply a milky white or soft pink polish – think “glazed donut” vibes à la Hailey Bieber.
Apply one thin coat and cure under your UV/LED lamp for 60 seconds. Then add a second coat and cure again. Keep it smooth and even, because this base will show through your pearlescent layer!
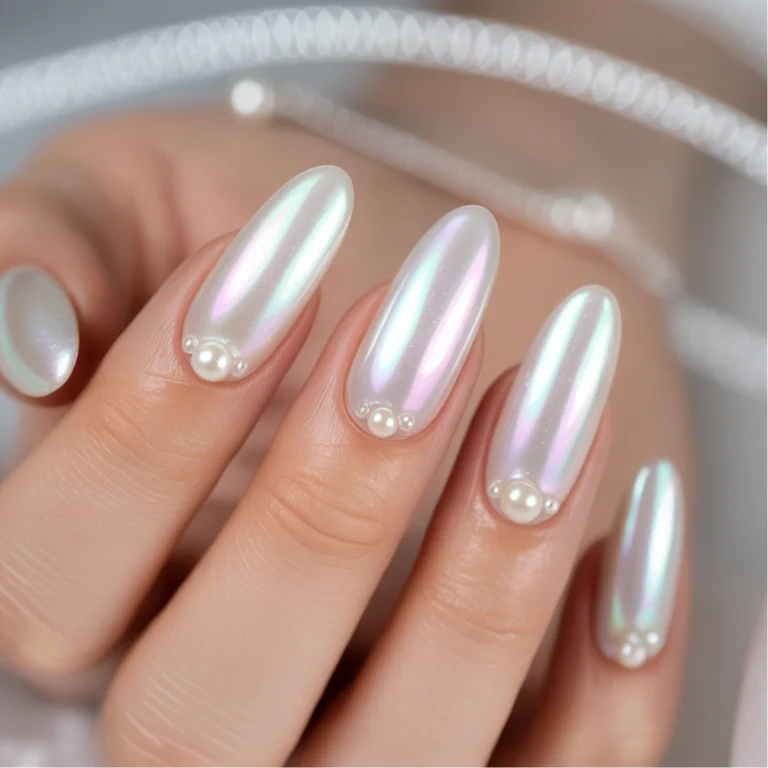
Step 3: Time to GLAZE ✨
This is where the magic happens! Once your base is completely cured with no sticky layer, take your sponge applicator or fingertip and gently rub the iridescent pearl powder all over each nail.
This technique is how to apply pearl powder on nails for that gorgeous seashell shimmer that shifts in the light! Brush off any excess with a clean fluffy brush. If you’re wondering how to do pearl chrome nails, this is it – that perfect application that makes them catch the light!
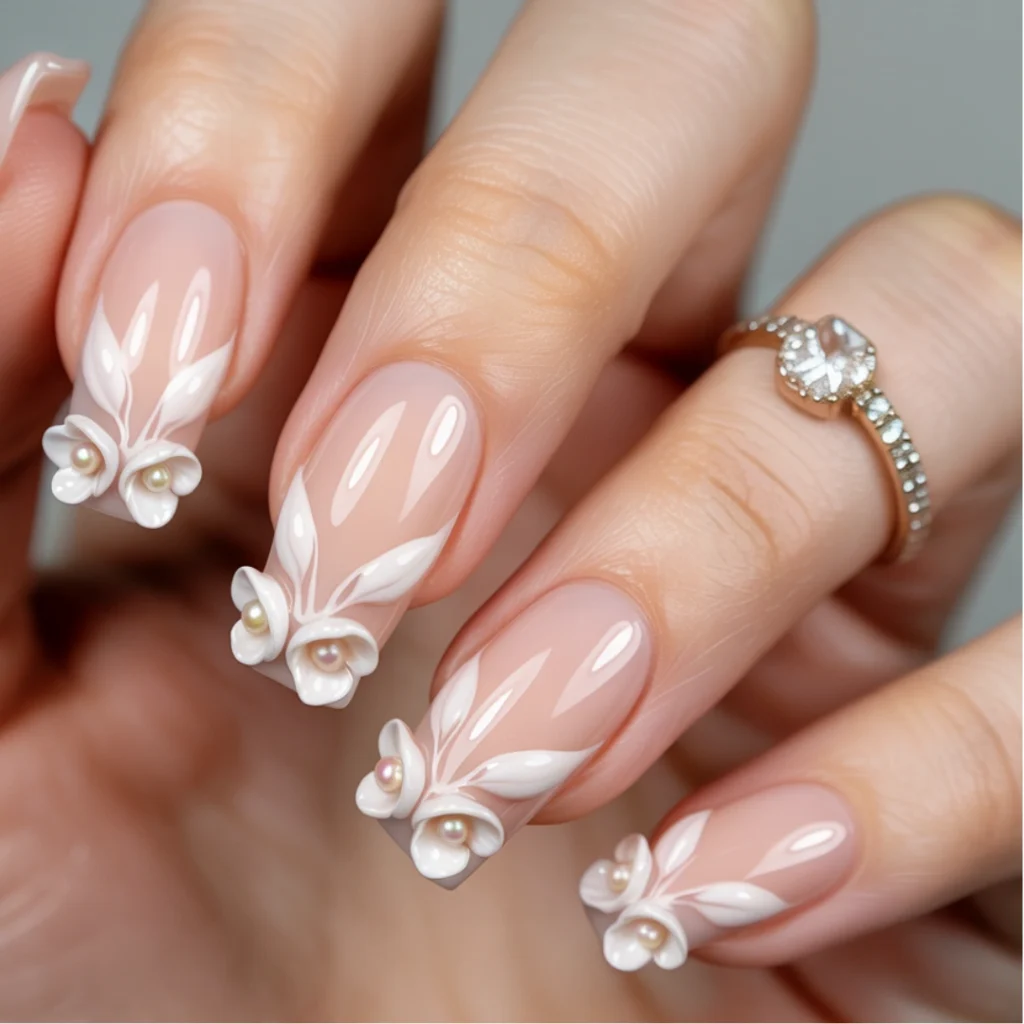
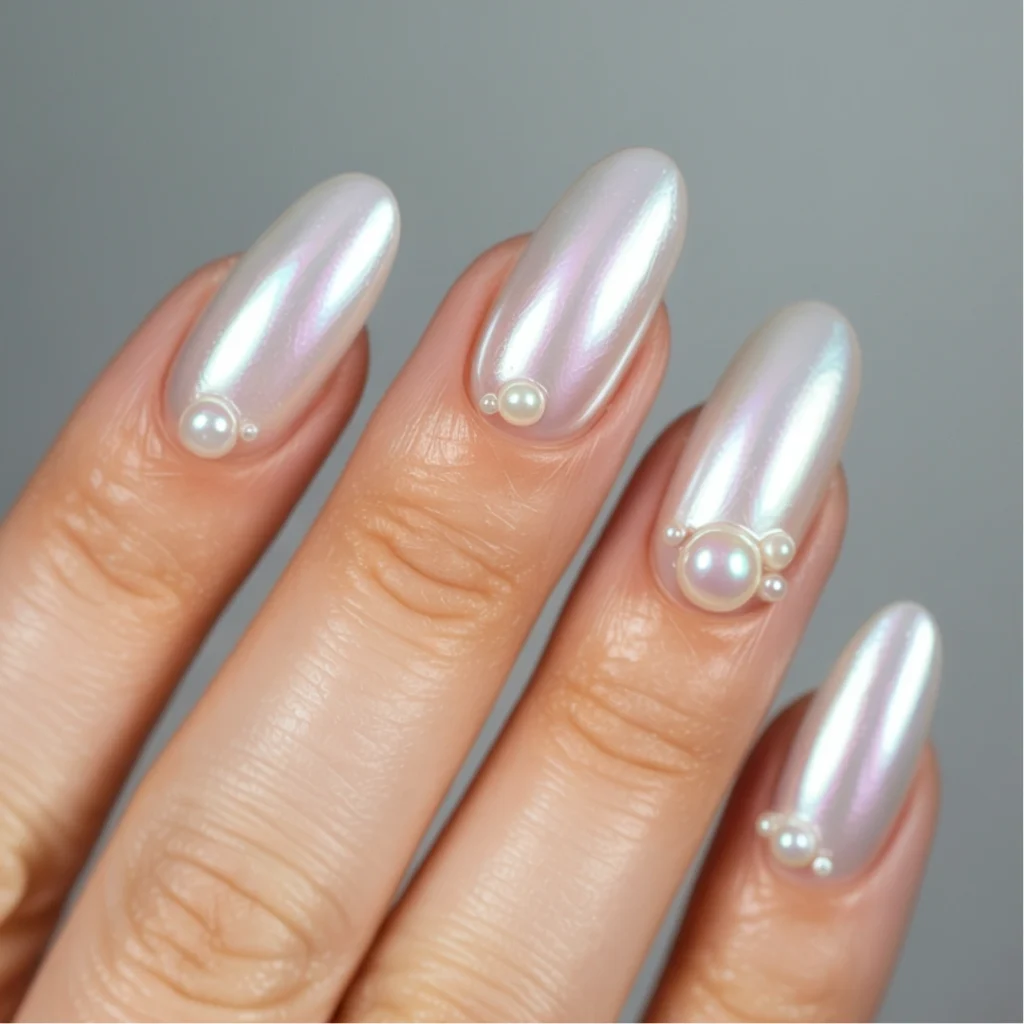
Step 4: Add the Pearl Jewels 👸🏼
Now for the showstopper element of your acrylic nails designs! Take those adorable flat-back pearls and decide on your placement:
- Line them along the cuticle for a framed look
- Cluster 2–3 on one accent nail for a statement
- Place one pearl at the tip for minimalist chic vibes
Apply a tiny dab of clear nail glue or builder gel to attach each pearl. Then cure again to lock everything in place. This is what takes your DIY from cute to “OMG where did you get your nails done?!”
Step 5: Seal It Like It’s Treasure 🔒
Apply a thick layer of clear top coat around (not over) the pearls. This seals everything in and gives your gel nails designs that ultra-glossy, professional finish.
Cure under the lamp one final time, and voilà! You’ve just mastered how to do pearl nails at home! Your hands now look like they’re worth a million bucks! 💎
Style It Your Way
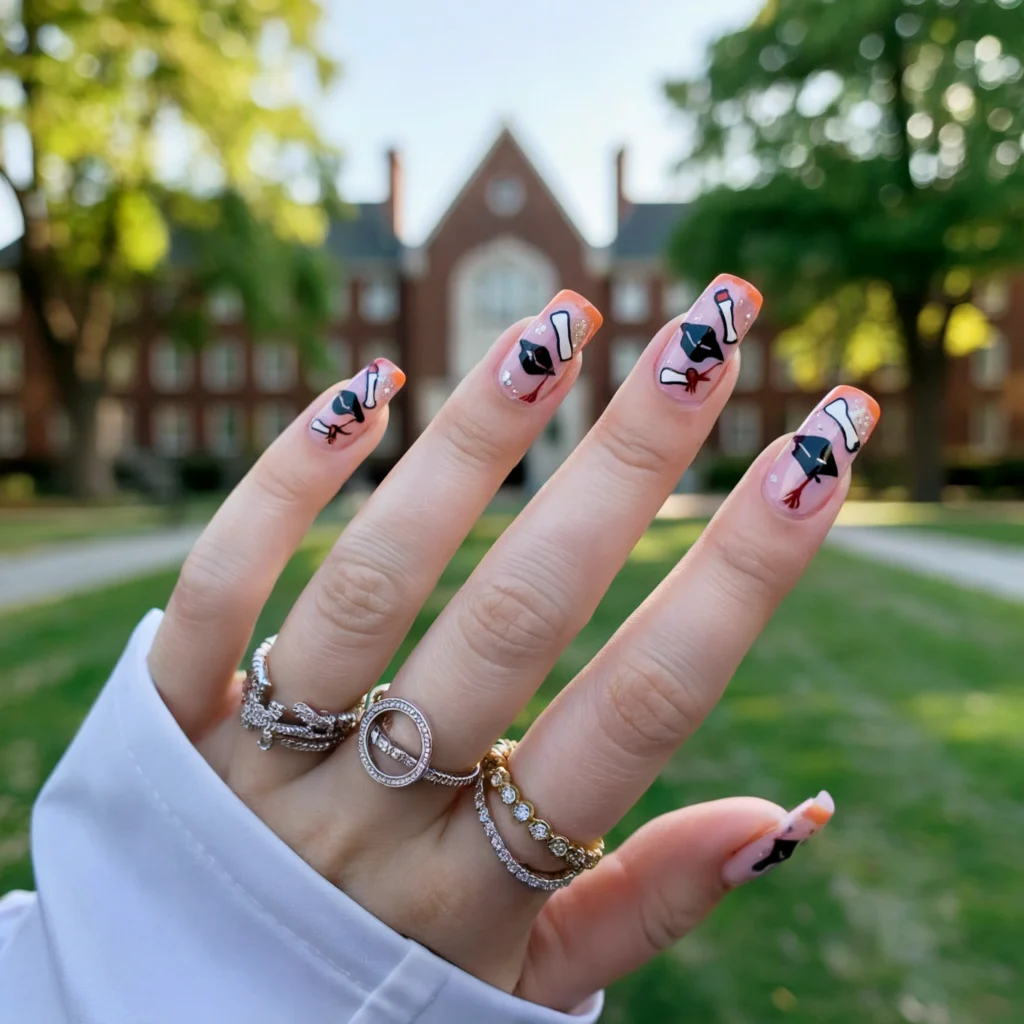
These pearl beauties are incredibly versatile! For formal events like weddings or proms, they’re the perfect elegant complement to any outfit. For everyday luxury, pair with gold jewelry to enhance that pearlescent glow.
These nails work beautifully with:
- Cream or pastel-colored outfits for a soft, cohesive look
- Little black dresses for a classic contrast
- Denim for an elevated casual vibe
- Silk blouses for ultimate boss babe energy
Want to Switch It Up?
Love the concept but want to make it your own? Here are some unique nail designs variations:
- Try a baby blue base for mermaid-inspired pearl nails
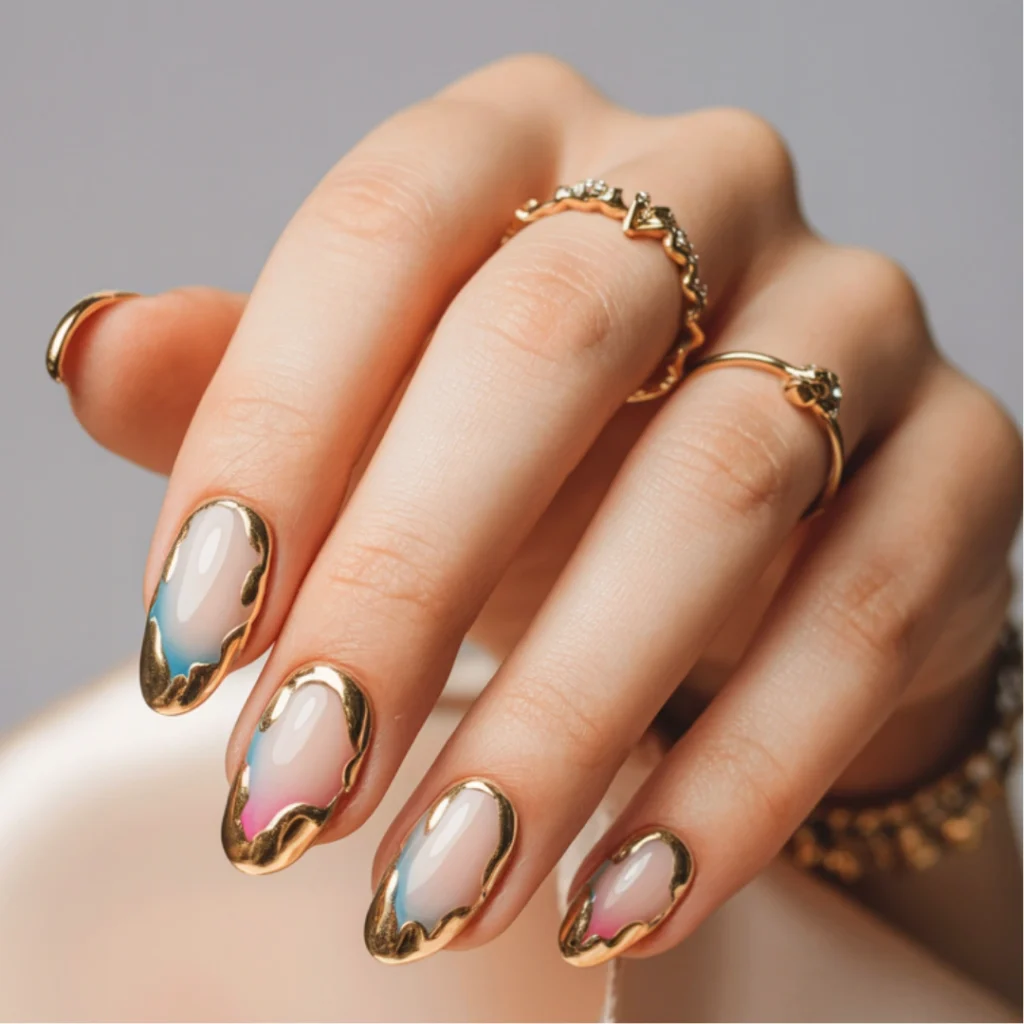
- Use gold powder instead of pearl for a more dramatic effect
- Create ombré bases before applying pearl powder for dimension
- Mix pearl accents with tiny crystals for extra sparkle
- Try clear nail designs with just pearls placed over natural nails
How to get pearl nails that are truly unique? It’s all about these little personalized touches!
Help It Last Longer
Want your fashion nails to stay flawless? Here’s how:
- Apply cuticle oil daily to prevent lifting
- Wear gloves while doing dishes or cleaning
- Avoid hot water for extended periods
- Touch up the top coat after a week for renewed shine
- Be gentle with the pearl embellishments – no picking!
With proper care, your DIY pearl chrome nails can last up to 2-3 weeks! That’s serious bang for your buck, girlfriend! 💸
Before You Go
Can we just take a moment to appreciate how far at-home nail art has come? What used to be only available at a luxury nail spa is now something we can create in our pajamas while binging Netflix!
Remember, practice makes perfect with nail painting ideas designs. Your first set might not be salon-perfect, and that’s okay! Each time you try, you’ll get better and faster.
I’d absolutely LOVE to see how your pearl nails turn out! Drop a comment below or tag me in your nail selfies – nothing makes me happier than seeing you all rock these designer nails! ✨
FAQs
How do I prevent the pearl powder from getting messy?
Work over a piece of paper to catch fallout, and use a small amount at a time. Apply with a gentle dabbing motion rather than rubbing aggressively. You can also use tape around your cuticles as a barrier!
Can I do pearl nails without a UV lamp?
Yes! While gel gives the longest-lasting finish, you can use regular polish with a quick-dry top coat. The pearl effect won’t be as intense, but it still looks beautiful for special occasions.
How do I remove flat-back pearls without damaging my natural nails?
Soak your nails in acetone for 10-15 minutes, then gently push the pearls off with a wooden stick. Never force them or you might damage your natural nail.
Are pearl nails appropriate for work environments?
Absolutely! For conservative workplaces, try a subtler version with just a pearlescent finish and no 3D elements. For creative environments, go all out with the pearl embellishments!
How can I make my pearl nails look more expensive?
Quality top coat makes all the difference! Invest in a high-shine formula, and keep your overall design clean and intentional. Sometimes less is more – a few perfectly placed pearls can look more luxurious than overcrowded designs.